Useful knot series, part II: Clothesline
Part I came so long ago, I bet you think I forgot. I did, well, not exactly forgot so much as accidentally abandoned my blog editorial calendar in the hustle of making a living with all sorts of balls in the air. I am just now getting back on track; thanks for your patience. (I have a bit more time on my hands since Christina came on board to whip HGGH business into shape!)
The cool thing about the clothesline knot—also called a taut line—is that it’s adjustable and gets tighter when you slide the knot along the line away from what you’re tying up.
Step 1: Wrap your rope around the hook, branch or pole and, if hoping for a taut line, get it as tight as you can while being able to comfortably still work with the rope. Leave at least 6” of a tail end that sits under the main line.

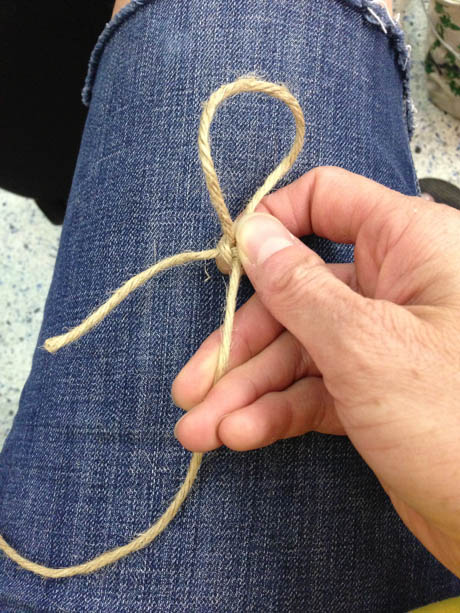
Step 2: Make a loop with the tail end around the main line from front to back.

Step 3: Repeat, making another loop just like the one you just did.

Step 4: Pull tight and flip the operation over so it looks like this.

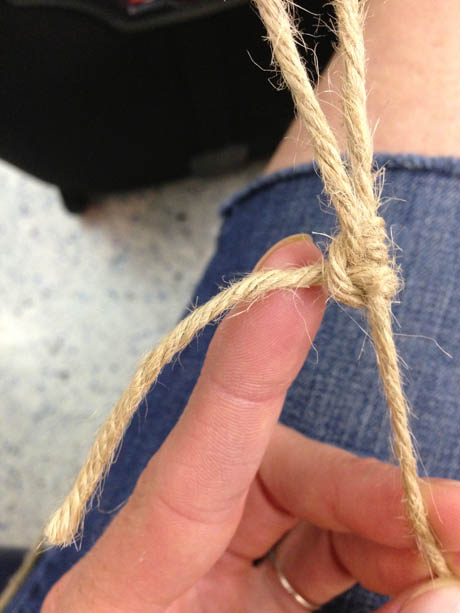
Step 5: Take the tail end and wrap it around the main line from back to front and then right back through the loop you created, going from the front and ending in back.

Step 6: Pull tail end to tighten.
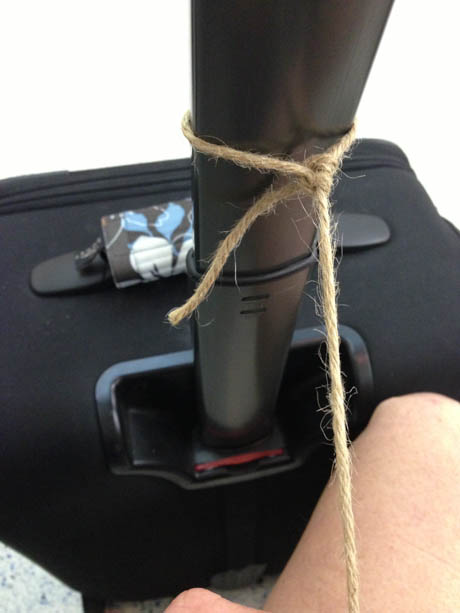
Step 7: Tighten the line by sliding the knot away from the hook (the thing you tied the rope around). Yes, the knot actually moves!
This suitcase isn’t going anywhere.
Move on to Part III to learn another handy knot, two half-hitches.