
Yesterday I participated in the Farm City Fair hosted by the French Institute Alliance Francaise.
I sold hoards of lovely people on fridge pickling. In fact, I talked all day about food and almost forgot to eat some myself. (Thank goodness for the lovely Adriana for ferrying all sorts of yummy things my way.)
Over the past couple months my pickling endeavors have expanded into the wild world of fermentation. I haven’t mentioned it here until now because I wanted to be sure I knew what I was doing. Handing things over to microbes involves patience and a good bit of trust.
 Fermented pickles (also called brined, or salt brined) are perhaps one of the best things you could put in your body. Lactobacillus and your stomach go well together. These are not vinegar pickles (like I was describing yesterday) but pickles that become pickles because of the handiwork of bacteria.
I’ve tried my hand at kimchi (rather the Japanese relative called ‘kimuchi’), sour beets, Lower East Side dills and green zebra heirloom tomatoes, all with varying degrees of success.
The green zebras were a happy accident. I couldn’t find a recipe that sounded good, so I made one up with a little help from two leftover dilly beans jars that contained only spices. (At our canning party last month, we didn’t have enough green beans to fill the last two jars we’d prepared, and I figured something delicious could be done with the spice mix.)
My two favorite books to read all the in’s and out’s of fermented pickles are Linda Z’s The Joy of Pickling and (the fermentation bible) Sandor Ellix Katz’s Wild Fermentation. Between the two of them, I haven’t been confused about anything.
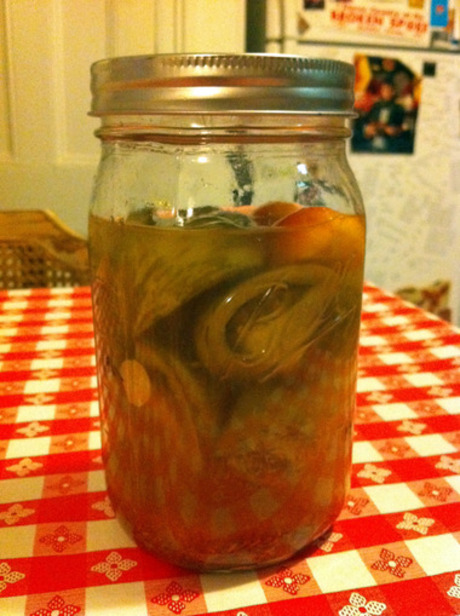
Pickled Green Zebra Tomatoes
yield 1 quart
Method:
1. Place 2 tsp dill seed, 1/2 tsp cayenne powder and 2 cloves of garlic, slivered into a clean, wide-mouth quart jar.
2. Quarter or halve 3/4 lb firm (unripe) green zebra heirloom tomatoes* (that’s about 5 medium sized tomatoes) and drop into jar.
(You could use any unripe tomato variety. This is a great way to use up those green end-of-summer, not gonna ripen ‘maters.)
3. In a separate jar or container combine 2 cups filtered water with 1.5 Tbs pickling or Kosher salt until salt dissolves. Pour salt brine over tomatoes to cover them completely.
4. Place a clean, 8-oz jelly jar inside the rim of the pickle jar to weight tomatoes down in the brine. Fill jelly jar with water if necessary to weight down the tomatoes.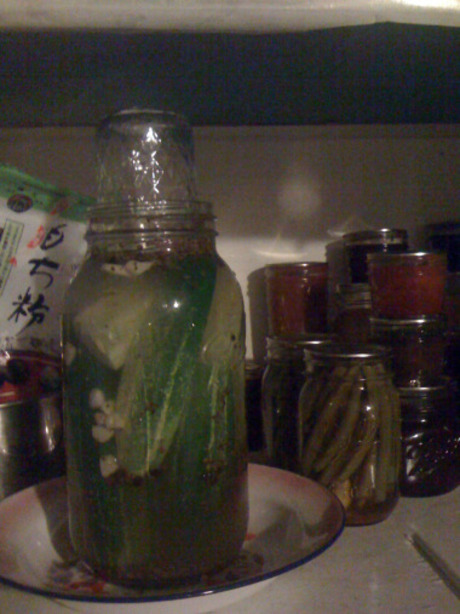 These are the dill cukes, but you get the idea.It’s also an excellent precaution to place the jar in a low dish or on a plate since the fermentation action causes bubbling and off-gassing which could slosh the liquid over the edge of the jar.
Cooler, dimmer places work best for fermentation, but my hot little kitchen pantry shelf (my only option) worked out just fine.
5. Check on your pickles every day. In the first three days you’ll notice bubbling and frothing around the rim. Do your best to skim excess foam off (without scooping out the spices that have floated to the top). This keeps yeasts, molds and less desirable bacteria from taking over in your jar. Rinse and clean the jelly jar weight when you skim, too.
6. Your pickles are done when they aren’t foaming any longer, they smell like pickles and they’re the same color throughout. You may try them at any time (they’re not unsafe to eat at any point), just wash your hands before digging around in the jar with your fingers. Cap the jar loosely and place in the fridge when your pickles are done fermenting. (Mine were ready within a week and a half, but it could take anywhere from 1-3 weeks.)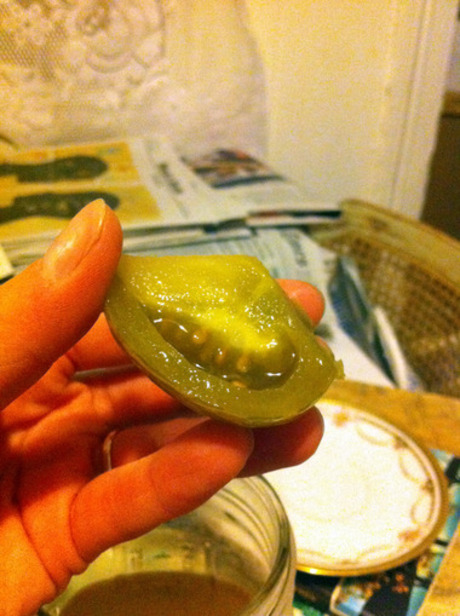
*sub speared carrots or halved/quartered pickling cukes for tomatoes and enjoy other feremented veggie variations!