December is here, hurtling us into the onslaught of cookies, cookie swaps and general cookie-shaped cheer. Make a gluten-free version of the classic fave for the GF folks on your list. Feel free to double or triple this recipe (I halved it from the original).
Gluten-free sugar cookies
modified from the good ol’ Joy of Cooking, yields about 12-24 cookies, depending on the size of your cut outs
I have a mixer, so I used it. You can surely make cookies without one.
1. Beat on med-high with the paddle attachment until it resembles the adjective ‘fluffy’:
1 stick butter, softened
1/3-cup sugar
2. Add directly to the mixing bowl:
1 small egg
1/8 tsp baking powder
slight pinch salt
3/4 tsp vanilla extract
3. Combine the following flours/dry ingredients in a small bowl:
3/4 cup white rice flour
1/4 cup tapioca starch
1 Tbs buckwheat flour
1 Tbs potato starch
1 tsp xanthan gum
Add the flour mixture to the mixer in 1/2-cup increments and mix until well-incorporated and smooth.
4. Sandwich the dough ball between two large sheets of parchment paper. Roll to about a 1/4-inch thickness. Slide a plate or cookie sheet under the parchment-covered dough and refrigerate it for 20 minutes. Whatever the dough is resting on, make sure it’s completely flat (no lipped/curved plates). Now is a good time to clean up from phase one.
5. Preheat the oven to 350 and position the rack to the upper region of the oven. Grease a cookie sheet, or use a Silpat baking mat.
Grab your refrigerated dough and peel off the top sheet of parchment. Use a cookie cutter*, or thin-rimmed cup to shape cookies. Peel away the edge scraps around your shapes and then use a small spatula to scoop up the cookies and place them on your cookie sheet, an inch apart.

Do this whole process as swiftly as you can because it’s harder to scoop up the shaped cookies as the dough reaches room temp. If you find yourself destroying your shapes while scooping, just re-roll out what’s left of the dough and put it back in the fridge and start over. (You can bake the ones that you shaped successfully in the meantime.)
Bake for 3 min, rotate the pan and continue to bake for another 3-6 min, until the edges of the cookies have turned a golden color or browned slightly. If you doubled or tripled the recipe, you should still bake the cookies one sheet at a time.
Let finished cookies cool on the cookie sheet for a minute and then transfer them to a rack to finish cooling. Decorate however you’d like.
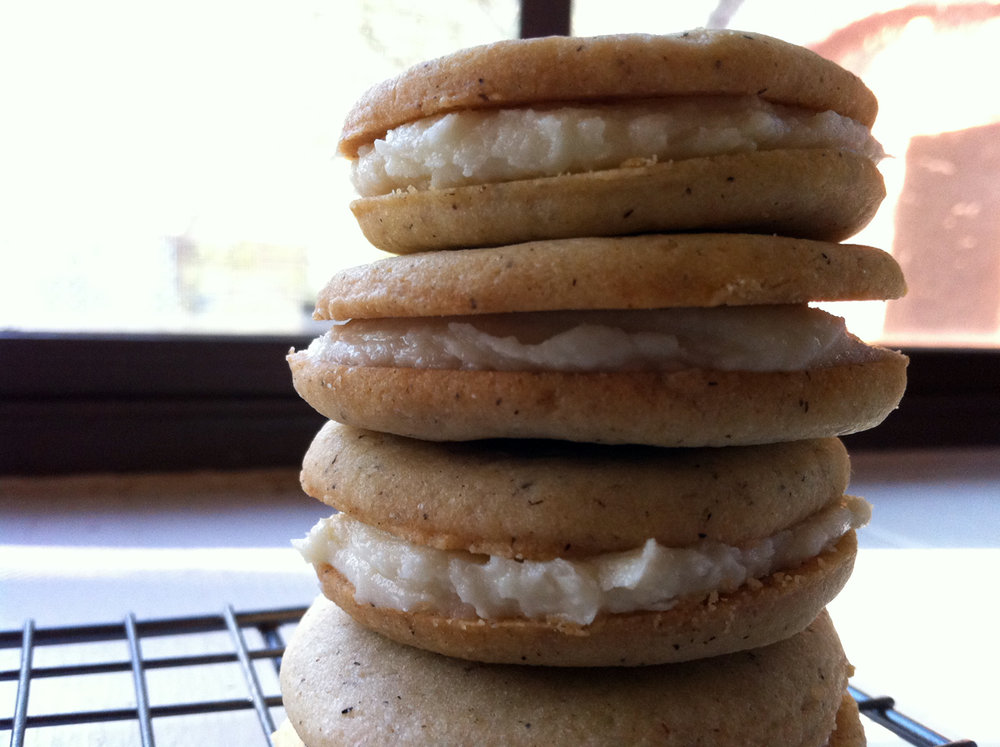
p.s. Italian butter cream icing sandwiched between two round cookies (pictured up top) is over the moon delicious!
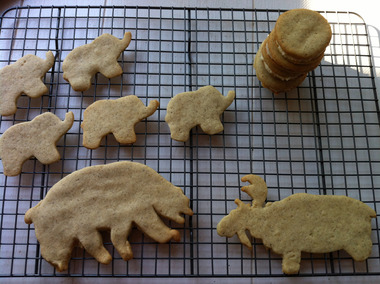
*A note on cookie cutters: I had the grand plans to bake moose and bears for my mama over Thanksgiving. She bought me these adorable, yet rather intricate cookie cutters when we traveled together in Alaska earlier this year. It turned out elephants and regular circles were easier to cut and scoop (intact). Choose your cutters with this in mind. Skip anything exceedingly large or with many squiggly, intricate edges (or feet).