
Well, the house is nearly ready. My new motto: good enough is good enough.
I’m stepping out of my event planner’s perfection coat. I’m ready to have 50+ friends and fellow Austinites over for my book release party tomorrow. I leave early early on the following day for the first leg of my book tour, 9 days on the road (and in the air) in the Northeast.
It’s all happening very fast, I must say. I’m getting notes from pals who pre-ordered from Amazon telling me they’re getting confirmations that the book has shipped. Whether or not I feel ready, the book is hurtling itself into this world. I really hope you like it!
A few loose ends linger. Like what to wear in Albany and Boston (while it’s already ‘feels like 99’ degrees here in Austin), and how to fit all these layers into my little roller board suitcase. Like the pile of wall-hangings laying in my entryway. Like the brown butter rice krispies treats and buttermilk biscuits I’m going to make for tomorrow.
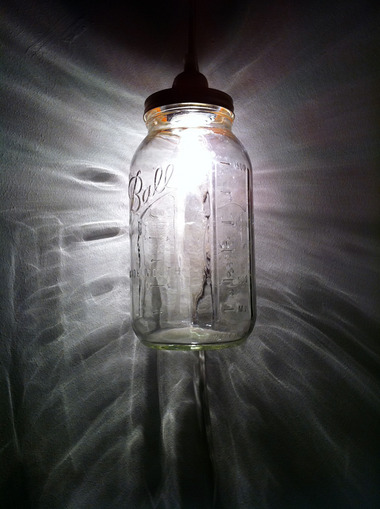
One pressing matter has been solved. Light-age for the book-selling table tomorrow!
A dark corner and a mason jar later…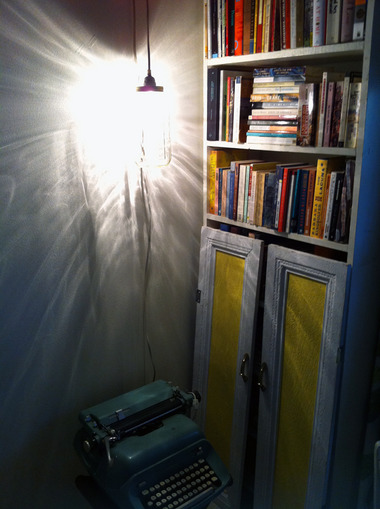
Here’s how I did it:
1. Get a pendant light cord with a screw cap that goes around the base. I think they all come with them when you buy them new. IKEA has them, but so do hardware stores and home improvement stores.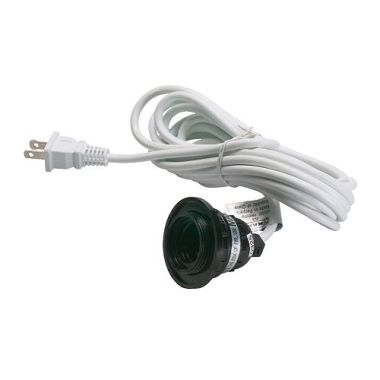
2. Stab a hole in the center of a used mason jar lid (save your new ones for making and sealing jams or pickles). I used a screwdriver for that first hole, but a large nail would probably do better. I then coaxed the hole open more with my wire cutters. You want the hole only big enough to fit around the base of your light fixtures threading. Be careful; the rough-edged metal is sharp!
3. I also poked holes around the rim of the lid to let some of the heat from my incandescent 40W bulb out (though only once I’d assembled the light fixture by screwing the jar onto the lid, so there was added stability in the center of the lid again). By this time, I’d dug around in the tool box a bit more and found a special poke-y tool, but a nail will work here, too.
Here’s the top view: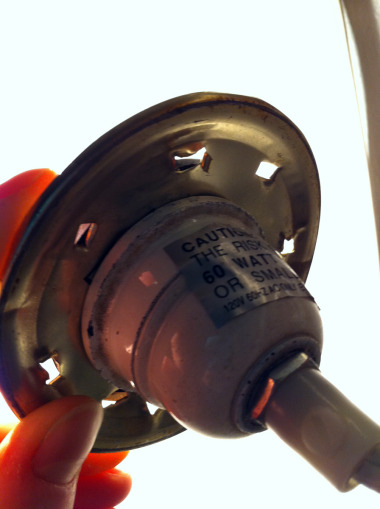
And the view from underneath:
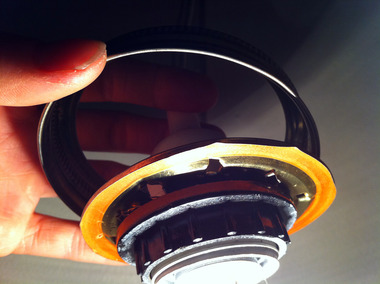
Layering set up:
- Band
- Base of drop light
- Jar lid
- Screw cap (securing jar lid to base of light fixture)
- Light bulb
- Mason jar
The layering keeps your light in place, the rim and lid keep the whole thing affixed properly to the jar.
4. I hung my new ‘chandelier’ from a sturdy, extendable curtain rod hook mounted on the wall.
Cheers to DIY light fixtures. And, of course, cheers to you for reading my blog and checking out my book when it’s out on shelves tomorrow!