
Disclosures: Mountain Feed & Farm Supply is a paid sponsor of this blog and provided some of the supplies to make this project, including the starter cultures and Greek yogurt strainer, at no cost to me. My opinions and feedback on the project are not influenced by this sponsorship. There are links to MF & FS offered products, and I do not receive any commission from your purchase. If you purchase a copy of my kitchen book via the link in the post, I receive a few cents extra for sending you over.
Friends! It’s been forever. My yogurt chops were rusty. I realized I haven’t made a batch of yogurt in my ‘new’ house (which was new in November 2014). When Mountain Feed & Farm Supply reached out about partnering on a post, I immediately thought YOGURT. I immediately loved this site because they are a fabulous resource for how-to videos and blog posts on all sorts of projects, and, second, they are a great, affordable online shop for gathering your project supplies.
It turns out yogurt-making is a skill you never lose. I wrote about homemade yogurt in Hip Girl’s Guide to the Kitchen and it is mom-tested, by that I mean busy-mom-without-patience-for-projects-like-this-tested. Your yogurt game can be casual, the periodic batch made once in a while from a few tablespoons of existing plain yogurt you have in your fridge or you can up your game to buy a pack of starter cultures that can be re-used over and over again provided you keep them going with a new batch every week.
I got a pack of the Cultures for Heath Greek Yogurt starter cultures from Mountain Feed & Farm and proceeded to follow the CFH instructions to the ‘T’, well, ok I did it hip girl’s style.
Here’s the run-down from the instruction sheet, with pictures of each step.
1. Heat 1 quart of pasteurized milk to 160 degrees F then COOL to 110 degrees F.
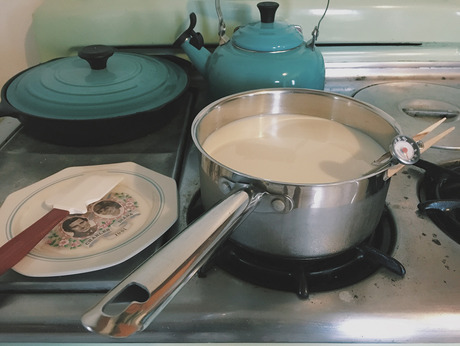
I doubled the batch because we go through yogurt in this house pretty quickly and with that volume my clothespin clip-on thermometer stays nicely gauging the temp as it slowly rises, and then falls.
2. Pour the cooled milk into a glass or plastic container and add one packet of yogurt starter culture and mix thoroughly. (I went for the glory and added both packets in the box.)
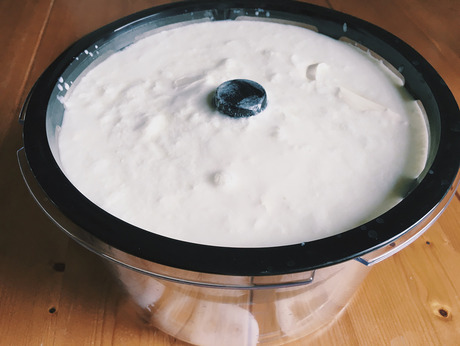
3. Cover the mixture and incubate it at 110 degrees F for 5-12 hours in a yogurt maker or similar appliance.

So, yeah. This is a combination of cool devices that are not being used in their intended fashion, but work well on the yogurt front. You just need a large stockpot (I happened to have this cool thing that was just the right size base) and an inexpensive dehydrator to keep the yogurt happily at temp for 5-12 hours. Just be sure the deydrator heat source (around the outer edge of my machine) is being contained somehow, but not in any totally air tight capacity, since you want to surround but not suffocate and bake the yogurt. Or you can use a proper yogurt maker or any one of the other ideas I listed in my HGGK book!
4. Check after 5 hours to see if it has set. If not leave for up to 12 hours, checking every 30-60 mins.
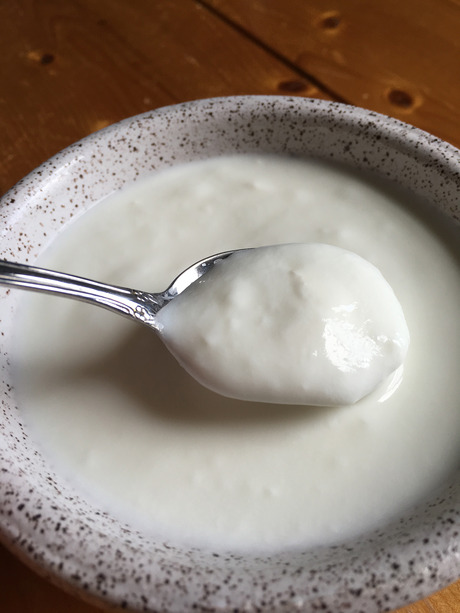
I went lower and slower on the task at hand and ended up with a decent set for the first time activating cultures after 11.5 hours. It hung out over night in my improv yogurt maker without my supervision and all turned out fine.
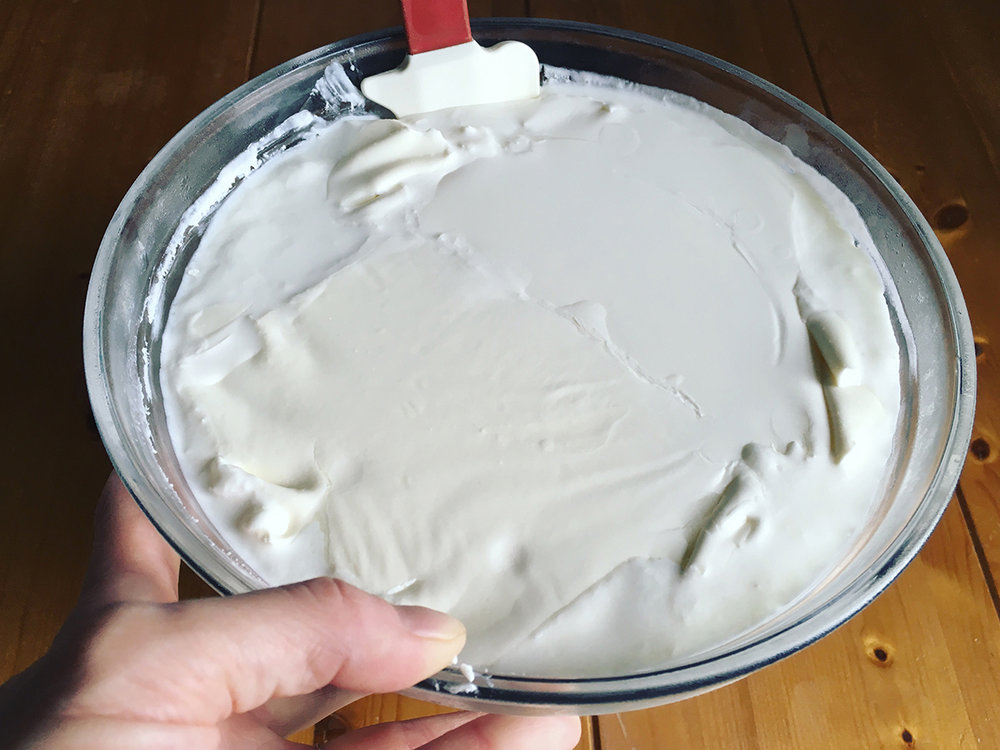
5. Once it has set, cover the yogurt and allow to cool for 2 hours, getting it back to room temp.
6. Refrigerate the yogurt for at least 6 hours, which will help to set the yogurt. You can eat it at anytime though.
6a. For Greek style yogurt, strain your yogurt to produce a thicker yogurt, like what you might see in stores. (Store bought yogurts almost all have some sort of thickeners included to make the texture you’re used to, you can thicken yours and learn about all sorts of yogurt making tips from the other side of the CFH info sheet that comes with a box of starter cultures.)
I loved using the Euro-Cuisine Yogurt Strainer. It perfectly held my 2-quart batch size and offers a handy BPA-free straining tool in the kitchen.
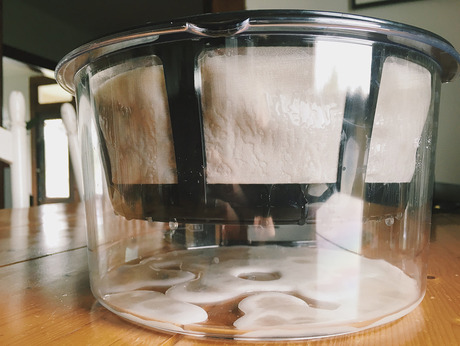
I strained out about 3 cups of whey from my yogurt batch to make the consistency that works well for us. We are using it in smoothies, but check out the 10 Whey Cool tips for using up whey in the HGGK book!
7. Save 2-3 tablespoons for your next batch, which should ideally be within 7 days of the first batch to keep the cultures strong.
Yay for yogurt!
Check out Mountain Feed & Farm Supply’s great yogurt-making post here and their Greek Yogurt tutorial here and visit Cultures for Health for other tips on making yogurt successfully at home.