Making sweet from tart

I rode around on a borrowed bicycle during my recent trip to Tucson stalking orange blossoms. The trees were heavy with both blooms and perfect oranges. I pocketed a few, to remember how sour the uncultivated Arizona citrus can be. I borrowed a small sauce pot and went to work on a simple syrup.

Simple Syrup for any amount of juice is easy. I had two oranges and no measuring cups. I ended up with about a half cup of juice, so I measured about 1/4 cup sugar and 1/4 cup water directly into the saucepot. Bring it to a simmer and simmer for about 5-7 minutes; it will thicken slightly and become shiny. Add the juice to the pot, bring it to a simmer again and remove syrup from the heat. Refrigerate, where it will last for a couple weeks. Add bubbly water and enjoy!

p.s. Using tart juice, like lemon or lime (if you’re not in AZ with sour oranges at your disposal) will replicate a deelish homemade Aranciata!

Making the most of your pantry shelves

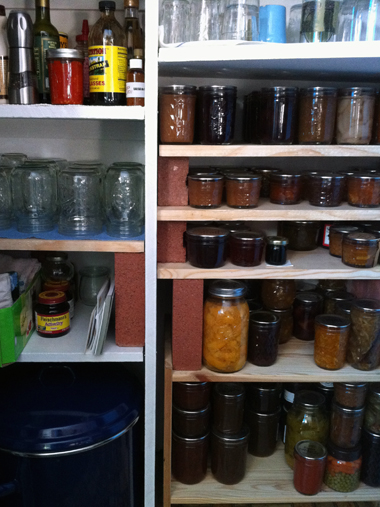
This hip trick is related to our old fave on page 53 in the book, cinderblock and boards bookshelving. Use this inexpensive trick to add depth to your shelving and make the most of your space.

Over the weekend I bought at the hardware store a ‘1x12x8 #2 Common Board’ (as printed on my receipt) and had them cut it down into four shelves for my pantry, which I was sure to measure carefully beforehand. I bought 18 concrete bricks and voila! After 10 minutes of assembly (aka stacking), I added four sturdy shelves converting formerly wasted space in my pantry into useful shelving for just under $20.

p.s. Paint your bricks and/or shelves if you’d like to add a kick of color to the set-up.

Waste not, packaging turned scrubber

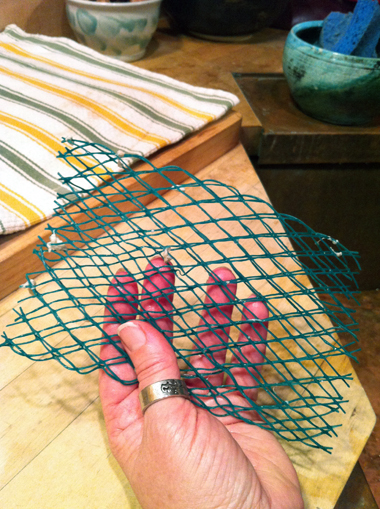
This hip trick comes to us from Susan, host of KOOP radio show, Food Love Austin. Susan hosted our Austin food swap a few months back and I noticed this ingenious trick for making use of wine sleeves that might otherwise end up in the trash.

Use these plastic grates as scrubbers for doughs and batters that wreak havoc on your regular sponge/dish scrubby and simply rinse it out when you’re finished!

Shortcut sifting

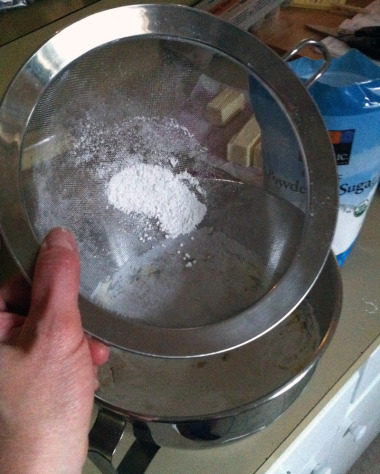
Who wants to clean that sifter contraption after a flour or powdered sugar explosion? Not me. This hip trick comes to us courtesy of my lovely banjo teacher (and the musician featured in my videos, Hilary Hawke.

Here’s a hip way to de-clump powdered sugar and sift small amounts of flour or spices. Place your to-be-sifted dry goods in a fine mesh strainer, give it a few shakes, and voila! Happy baking, or french toast eating, or whatever it is you’re doing with sifted stuff.

Iron out some extra counterspace

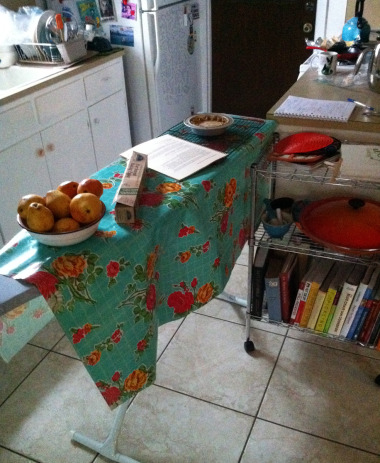
This hip trick comes to us courtesy of David Lebovitz, my go-to ice cream and dessert recipes blogger/author. He posted a Hip Trick-laden blog post a couple weeks back, and this one stood out as tres HGGH. Grab your ironing board for a small-space solution to your abysmal or non-existent counterspace situation. I like to throw an oilcloth over the top to prevent spillage or crumbs from settling into the place where we straighten out our clean laundry.

Operation stovetop recovery

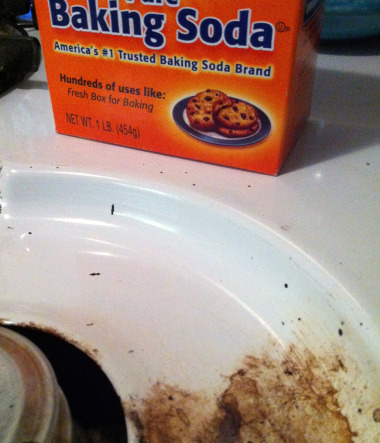
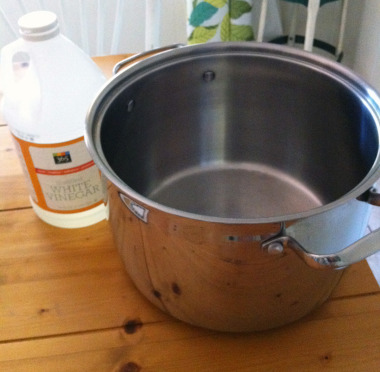
You survived the holiday gathering, but how did your stovetop fare? Not so well? Shake some baking soda directly onto the burner area and give it a scrub with an old sponge or rag. Dab rag with white vinegar to remove the soda residues and polish your work.

If necessary, degunk your metal burners by removing them and soaking in hot water and a splash of Citrasolv, and then wash normally with dish soap.

Low-tech food dehydrating

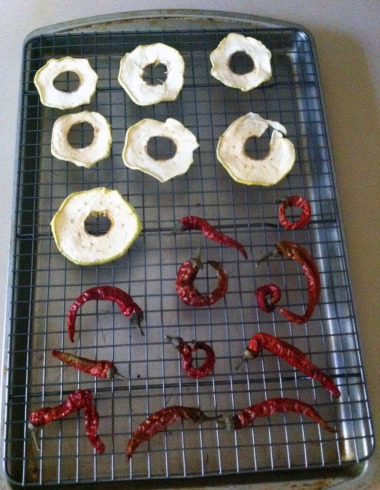
Break into the exciting world of food dehydration with this low-tech method using your oven. As a general rule, you’ll want to slice up your fruit or veg to no thicker than 1/4-inch and arrange on a cookie cooling rack which is then placed on top of a cookie sheet to catch any drips or fruit goo. This allows warm, dry air to completely envelop the food and allow for maximum successful drying potential!

A note on temp: Turn the dial to the lowest heat setting possible; most ovens won’t go below 160 or 170 degrees-F, so just keep an eye on whatever it is you’re hoping to dry. (A food dehydrator achieves your ideal fruits/veg drying temp of 135 degrees-F.) For drying herbs and spices, try using the ambient heat of your gas oven or turn your electric oven on to 200 degrees-F and switch it off when it comes to temp (then place drying tray in after 5 min).

Warming milk without scorching your pan

This hip trick comes to us courtesy of Sophie in Brooklyn. She wrote me from summer camp to share it after making ricotta with her camp counselors!

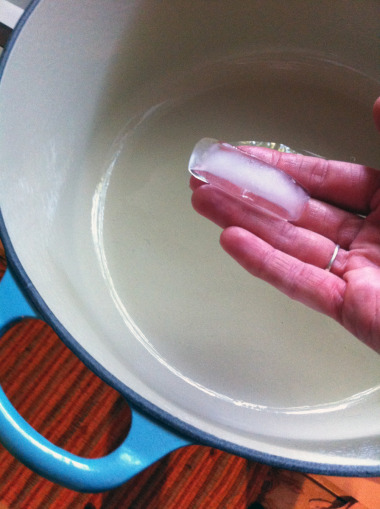
Take an ice cube and rub it along the bottom surface of your pan. Pour in your milk and heat according to the instructions for whatever you’re making. Be careful not to scrape the bottom of the pan or you’ll remove your special anti-scorch seal.

Freezing muffins

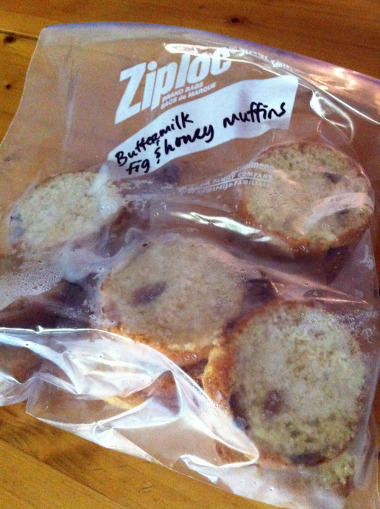
Muffins are an easy make-ahead convenience item. They freeze beautifully, but up until now, I’ve had a hard time defrosting them without encountering cold spots in the middle (or needing to saw away at a rock-hard, still-frozen muffin).

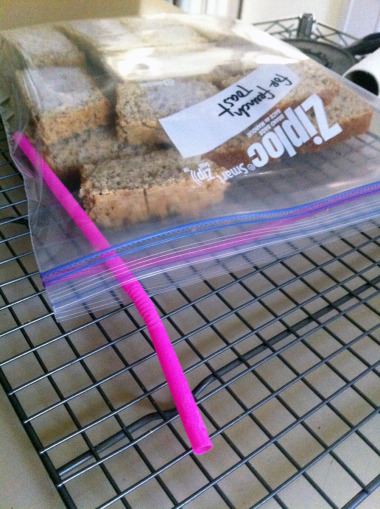
I’m not sure why it’s taken me so long to come up with this solution, alas necessity strikes again! Slice your completely-cooled muffins in half, separating top from bottom, and place in an air-tight freezer bag. When you pull out two frozen halves, they’ll toast up perfectly and be consistently warm throughout. (Plus, this provides the perfect palette for a jam or butter inside your muffin!)

Water-saving dish doing

Even if you’re not smack-dab in the middle of the worst drought in Texas history, saving water should be at the top of any global human’s list of concerns. Enough soapbox’ing for today, here’s how you can avoid wasting water during your handwashed dish sessions.

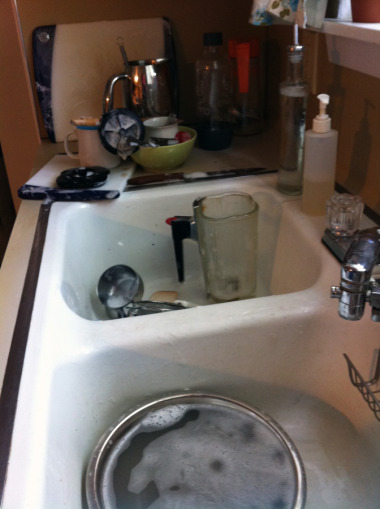
This hip trick comes courtesy of my good pal, Zora in Astoria, Queens, who reminded me that you don’t have to use/fill an entire dishtub (as described in my book on pages 24-25) in order to efficiently handwash dishes. Use a small bowl, something from the stack of to-be-washed items, as a suds enliven’er and suds-up all your items at once. Rinse them all at the same time.

Yogurt and cheesemaking sans candy thermometer

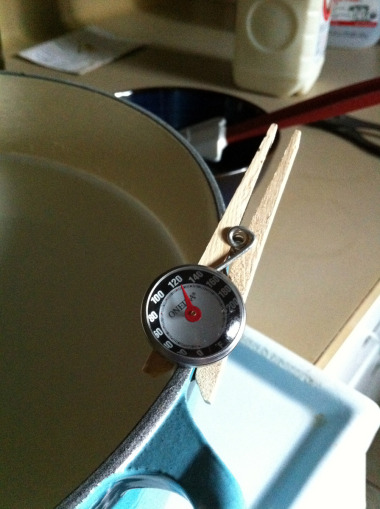
I gave away my standard candy thermometer last year because I couldn’t manage to use it without inevitably burning myself. (Tilting the pan to get a decent reading requires coordination and I’m not blessed in that realm.) Well, lately I find myself in the throes next-book research: yogurt and cheesemaking, tasks which ask you to keep good measure of temperatures, and rightly so; the bacteria in question prefer you to be precise.

This hip trick, born of necessity, kept my fingertips out of the steaming milk and my trusty meat thermometer in a place where it could do its best work. What problems can’t a clothespin solve?!

Fancy cheese samples

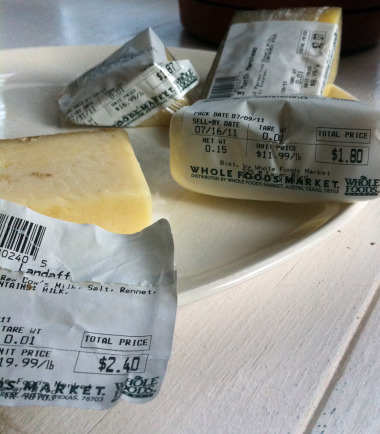
Budgets are tight with vacation expenses and back to school looming next month. Splurging at the grocery store might be out of the question for you right now. Well, think again. Visit the fancy cheese section of your local grocer (I went to Whole Foods here in Austin), and scout out their small pieces and samples bin. You can get an array of small portions of expensive cheeses without breaking the bank, and it’s a good way to try out lots of different types of cheese.

If your store doesn’t have one of these bins, suggest it to the cheesemonger (what a fun word to say!).

Fermented pickles

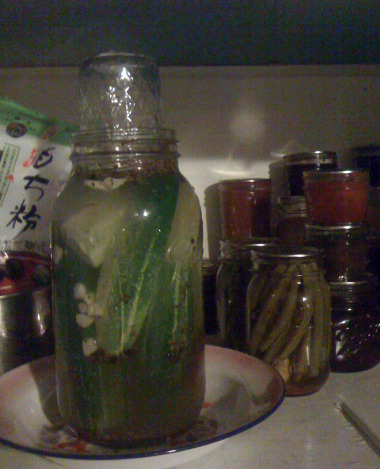
Planning to try a small batch of fermented pickles this summer? Use a quart- or gallon-sized wide-mouth jar with an upside-down half-pint jam jar to keep the pickles submerged in the brine. Don’t forget to place a bowl or plate beneath your fermenting jar, to catch any wild brine bubble-overs!

Visit this post for a quick intro, ideas and resources for first-time fermentation projects.